10 Ways to Take Better Instagram Photos
How do you take better Instagram photos? Improve the look of your feed? There are plenty of tips and tricks that will help lift your Instagram game, and though I can’t guarantee these will result in more followers – I can assure you that people are attracted to high quality accounts, so it will definitely increase your chances. Here are 10 ways that I have personally used to improve the quality of an Instagram profile.
1. Don’t use the in-built Instagram camera
Shoot using your phone’s actual camera app, not the one included in Instagram. It captures a higher resolution, making your image a lot clearer and crisper. I also recommend setting your camera to the highest resolution your camera allows.
2. Shoot in as much natural light as possible
The brighter a photo is naturally, the less editing you’ll have to do to it to make it look better. Sometimes natural light just isn’t around, which is why editing apps will become your best friend. But when there is an abundance of natural light available – embrace it!
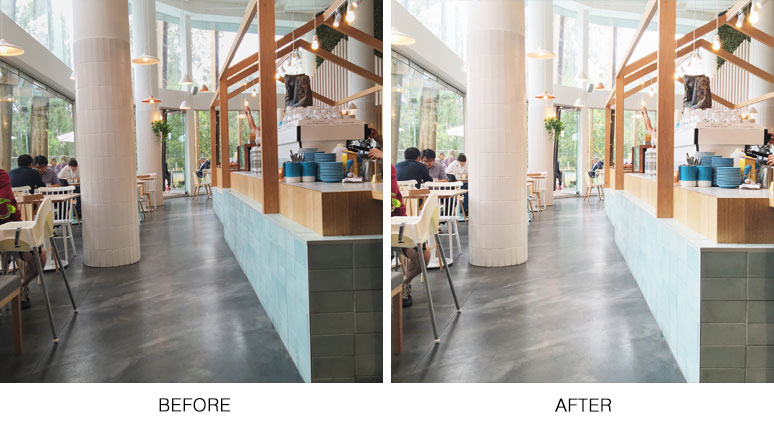
This cafe (Kitty Burns in Abbotsford), has an abundance of natural light which makes taking photos of it’s interior really easy!
3. Think about composition
Sometimes a perfectly symmetrical image is fun, but most of the time it’s good to play around with the rule of thirds. It’s a classic photography technique for a reason! Basically it means you imagine the frame is divided into a grid of thirds, so 3 rows and 3 columns. You use this to help line up your subject matter. As I mentioned, experiment, it won’t always work but it’s a great guide when you’re unsure.
It’s also a pretty safe one to say that food photos look best when shot from above. Yes, it means standing up, hovering over your food and re-positioning everyone’s plates on the table until the food has most likely gone cold – but you’ll get a way better picture of it as a result! I’m pretty obsessed with food photography. Just check out Milkbar Digital’s Instagram account for proof of that!
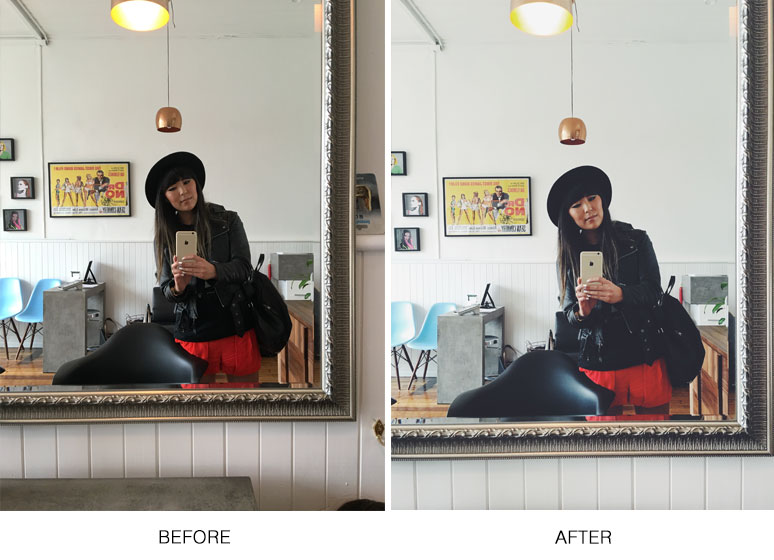
I tweaked the composition of this slightly to avoid some of the clutter outside of the mirror’s edge.
4. Consider your backgrounds
It’s always best to look beyond just the subject matter of your photo, and also consider how busy the background is. Clean textured walls, complimentary colours, not too much hustle and bustle (ie. People wandering around) – it all helps give a much more professional finish to your Instagram photo. Also, don’t put a border on your photo. Just don’t.
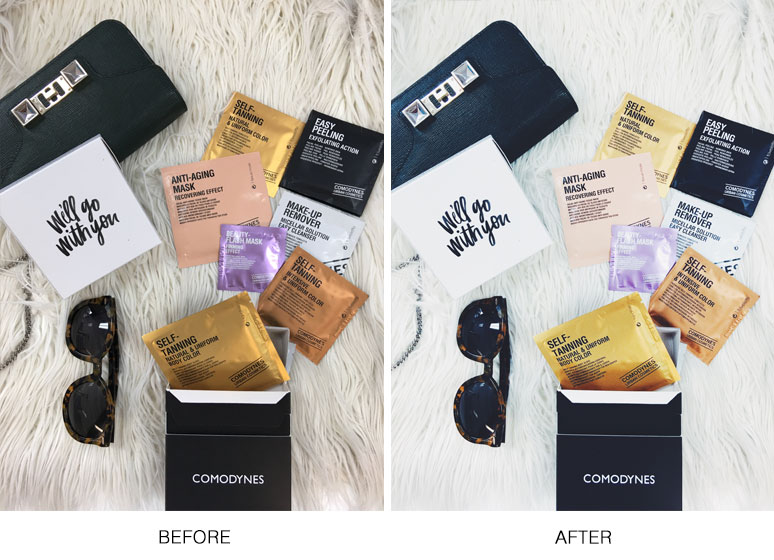
I like to keep a range of different flatlay backgrounds on hand – everything from fluffy textures to a piece of plywood I bought from Bunnings.
5. Take lots of photos!
You’d be surprised how many snaps it can sometimes take to capture “the one”. I often find myself taking 12 or so pictures of the exact same thing, until I find the one frame I really like. Don’t be afraid to take lots and lots of photos, having ones to choose from is way better than settling on a second-best. You can always delete the discarded ones later!
6. Edit, edit, edit
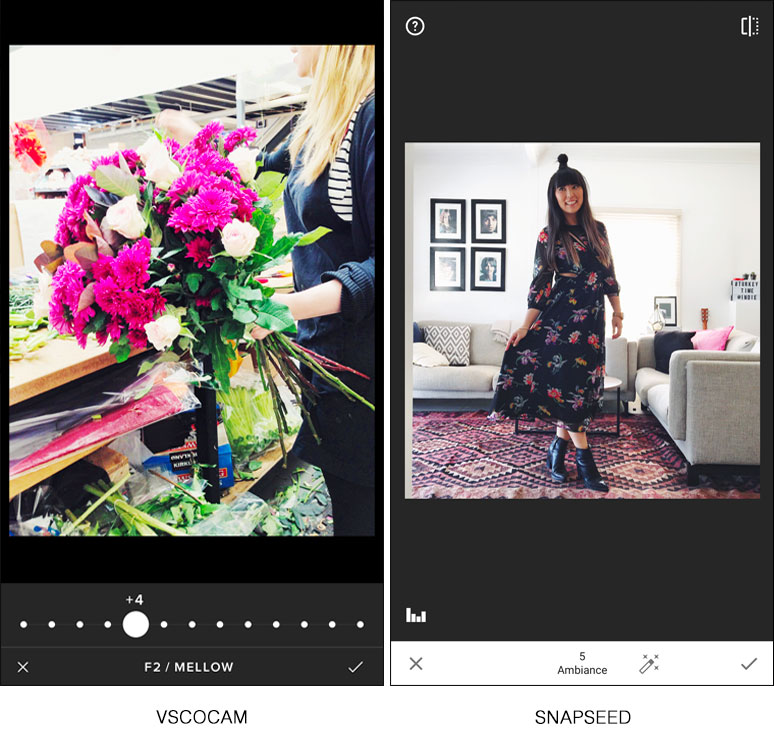
I personally swear by two editing programs. One is called Snapseed (download for Apple here and Google here), and one is called VSCOCam (download for Apple here and Google here). Both are free to download! I do the main editing in Snapseed, then if I think a photo calls for it, I might overlay a light filter on it in VSCOCam afterwards.
I repeat – never – never, ever – use the native in-built filters that Instagram offers. (Sorry Instagram). They’re really heavy and exaggerated. The key to Instagram photo success is making your photos look effortlessly profresh. That means a lot of lightness, brightness and crispness.
First, I take a photo and import it into Snapseed. My usual routine will consist of opening the “Tune Image” functionality and then:
- Increase Brightness slightly
- Increase Ambience slightly
- Up the Contrast a little
- Increase or decrease the Saturation – depending on the photo’s mood
- Decrease the Shadows – gives the photo more black
- I generally tweak the Highlights based on how it’s looking
- And add or subtract a little Warmth, also depending on the photo.
I then save this, and open it in a separate app called VSCOCam. This is also a free download, but you can pay for additional filters. I favour the 0 -10 series, the A series and the F series. I like to give my blacks a little hint of blue to them, I just feel like it looks crisper.
It’s often a good idea to reduce the heavy-handedness of the filters though, so they become a little more subtle. Sometimes I also add a little bit of Clarity (sharpness) to a photo in VSCO too.
Which leads me to…
7. Never post a blurry photo!
I’ve said it once, I’ll say it again, don’t post blurry photos. Doesn’t matter how good the photo itself is, if it’s blurry, it won’t work.
8. You can shoot outside the square
Although Instagram traditionally was about square shaped images, you can now post photos that are wider or longer. Personally I would not recommend ever posting a landscape image, you’re wasting precious screen space. I’m all for sharing portrait images though. Square is great though, when the photo you have perfectly fits within the frame. Like this selfie at Disneyland Tokyo. (Uh, cute right?)
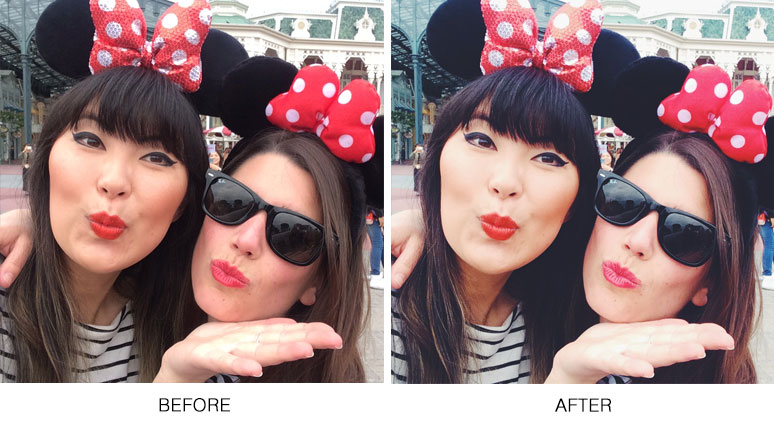
I like to add a slight blue-tone to the blacks of my images, whilst still keeping a level of warmth. I also like to brighten skintone (yay for the airbrushed look!) without going overboard Kris Jenner style.
9. Find your aesthetic
Think of your Instagram profile as your personal brand (or if it is your brand, remember that!) Ensure your photos have their own distinct look/feel and that everything you’re posting to your account is consistent with this. It’s great to develop a personality for your Instagram photos and run with it.
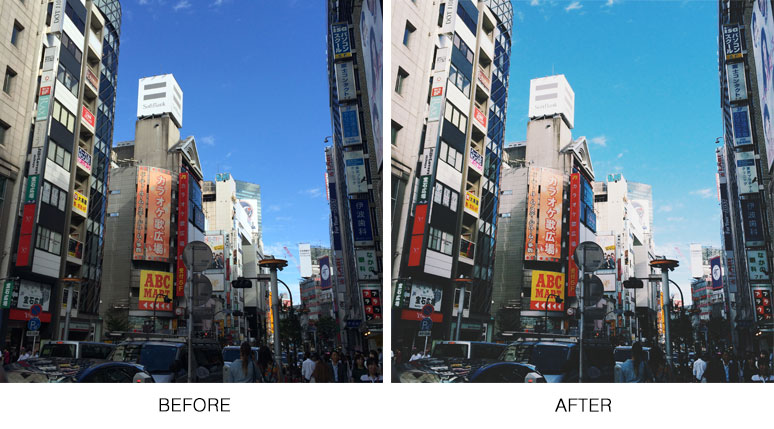
The original photo was OK before, but it didn’t really “pop”. Adding a subtle filter that brightened the blue sky gave it a crisp, “film”-like appearance.
10. Consider your copy
Be as considerate with your copywriting and captioning as you are with your photo-taking. I also recommend tagging in other relevant brands to your photo when applicable. For example, if I post a photo of me wearing a new dress to my personal Instagram account, I’ll make sure to tag in the brand of dress I’m wearing (plus my shoes, handbag, hairdresser, etc). It helps get your image out there to more eyeballs.
Do you need further help upping your Instagram game? Helping brands improve their Instagram accounts is just one of my favourite things. If you’re a brand who would like a free review of your current Instagram account quality, don’t hesitate to get in touch!
And don’t forget to follow Milkbar Digital on our favourite social media channel – Instagram!
No comments